For those that have asked for more details on my platforms for eggshells and nesting materials, here it is.
(For those that don't have the tools to do this, print this page out if you are going to give it to someone else to make for you so they'll have the drawing and directions).
These things are very easy to make, requiring only a little bit of material, and although I suggest treated lumber, regular exterior lumber will work since they're only going to be out in the elements during the nesting season and then put away for the rest of the year. And yes, painting does help extend their life.
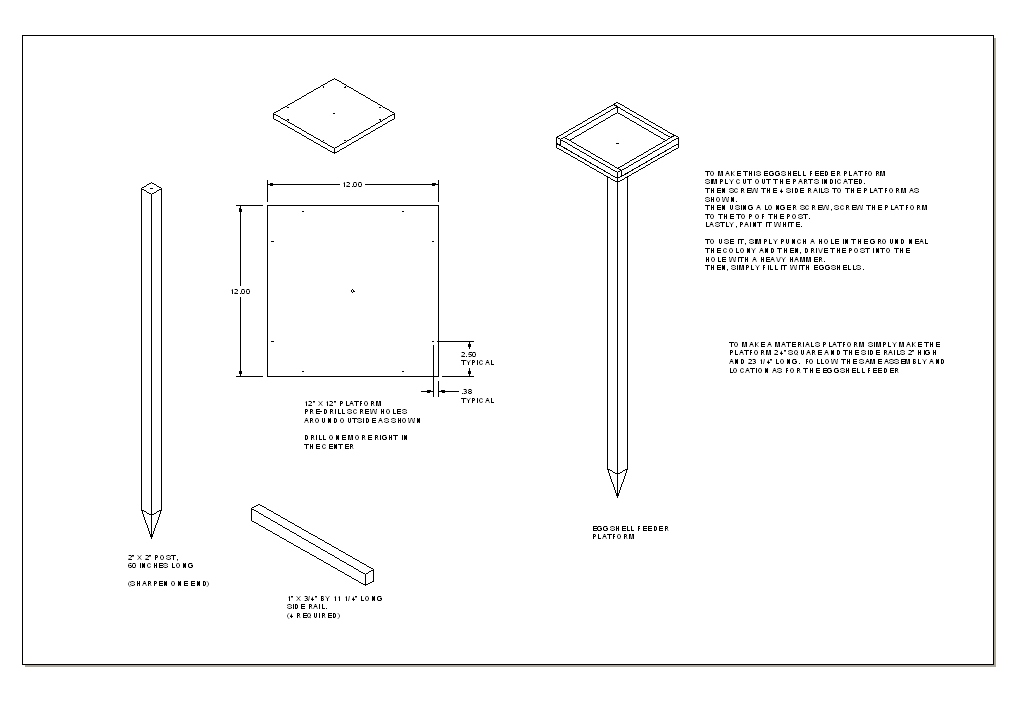
Take a look at the drawing below. For each, you'll need a few items and then they are simply screwed together. The drawing is pretty much self explanatory. Both of these platforms can be made at the same time. The drawing shows what to do to make the eggshell feeder. As stated on the drawing, to make the materials platform, simply make the platform 24" X 24" and the side rails 23 1/4" long.
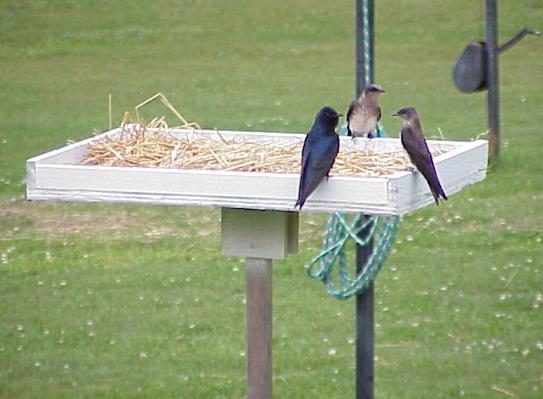
These are the basics for the platforms. As can be seen in the opening photos, I added additional supports under mine, but they are not really necessary. If you want to add them, simply cut a few extra pieces of board about 3" wide x 8" long and add them, one on each side of the post and tying the platform and post together.
 These platforms are
screwed together, so you'll need some 1 5/8" long decking screws (8 for the
eggshell feeder and 12 for the materials platform) and 1 - 3" long decking
screw for each of them to add them to the post.
These platforms are
screwed together, so you'll need some 1 5/8" long decking screws (8 for the
eggshell feeder and 12 for the materials platform) and 1 - 3" long decking
screw for each of them to add them to the post.
To start, get yourself 1 - 8ft long treated 2x4 (no knots) and simply rip it down the center. That will give you the posts for both platforms. (Yes, I know, it'll only measure 1 1/2" x 1 1/2", but that's how dimensional lumber is denoted).
Also, some stores sell 2 X 2's, so if they do, then simply pick up a couple of them.
And yes, regular untreated lumber will work, but make sure it is pulled out of the ground and put away for the winter. A quick coating of Thompson's Weather Seal will make it last, well...forever...
Sharpen one end of each as shown on the drawing. Since the platforms will sit about 5 feet high, cut them to 6 foot long. Only about 1 foot will be driven into the ground. (You want to be able to pull them out of the ground and store them at the end of the season).
Cut out the two platforms, one 12" x 12" and the other 24" x 24". I suggest they be made of 1/2" or 3/4" treated plywood, but regular exterior plywood will work since they are going to be painted.
Next cut out the side rails, 4 at 11 1/4" for the eggshell feeder and 4 at 23 1/4" for the materials platform. These can be made from any 3/4" lumber. Again, pine will work since it's going to be painted.
Next drill the holes in the platforms as the drawing shows.
For the materials platform, I suggest adding a 3rd hole in between the original 2, giving you 3 holes for the side rails.
Next drill a hole right in the middle of each platform.
Now add the side rails to each, screwing it together from the underside. Slide one end of the rail right up to the edge/corner of the platform and screw it in place. Then add the remaining rails, butting each up against the original rail.
And finally, using the 3" long decking screw, drill each platform onto the top of the posts. (A predrilled hole into the top of the posts helps keep it centered on the posts).
Now prime and paint them to make them last for a while out in the elements.
Now all that's needed is to punch a hole in the ground where you want to place them. You'll need some form of long metal bar to do this. (I have a 5 foot long, 1" diameter steel bar with one end ground to a point that I use to do this).
And finally, stick the post into the hole and drive it down into the hole with a heavy hammer. I place a short piece of 2x4 on the platform and pound on that to protect the platform wood.
And finally, add the eggshells to the smaller platform and the wheat straw or pine straw to the materials platform.
Done!
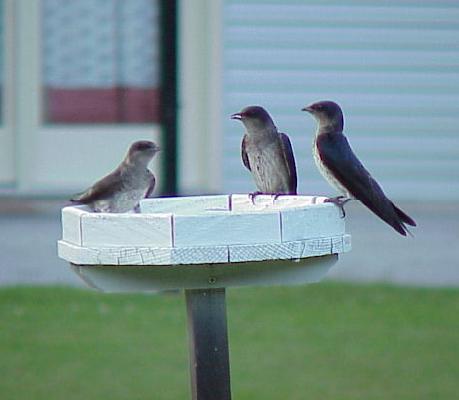
As can be seen by the opening photos, martins will readily use these. It doesn't take them long at all to realize that these are for them and they will begin using them almost immediately.
So there you have it. A simple project that just about anybody can do, giving your martins a little more help in their nesting at your site.